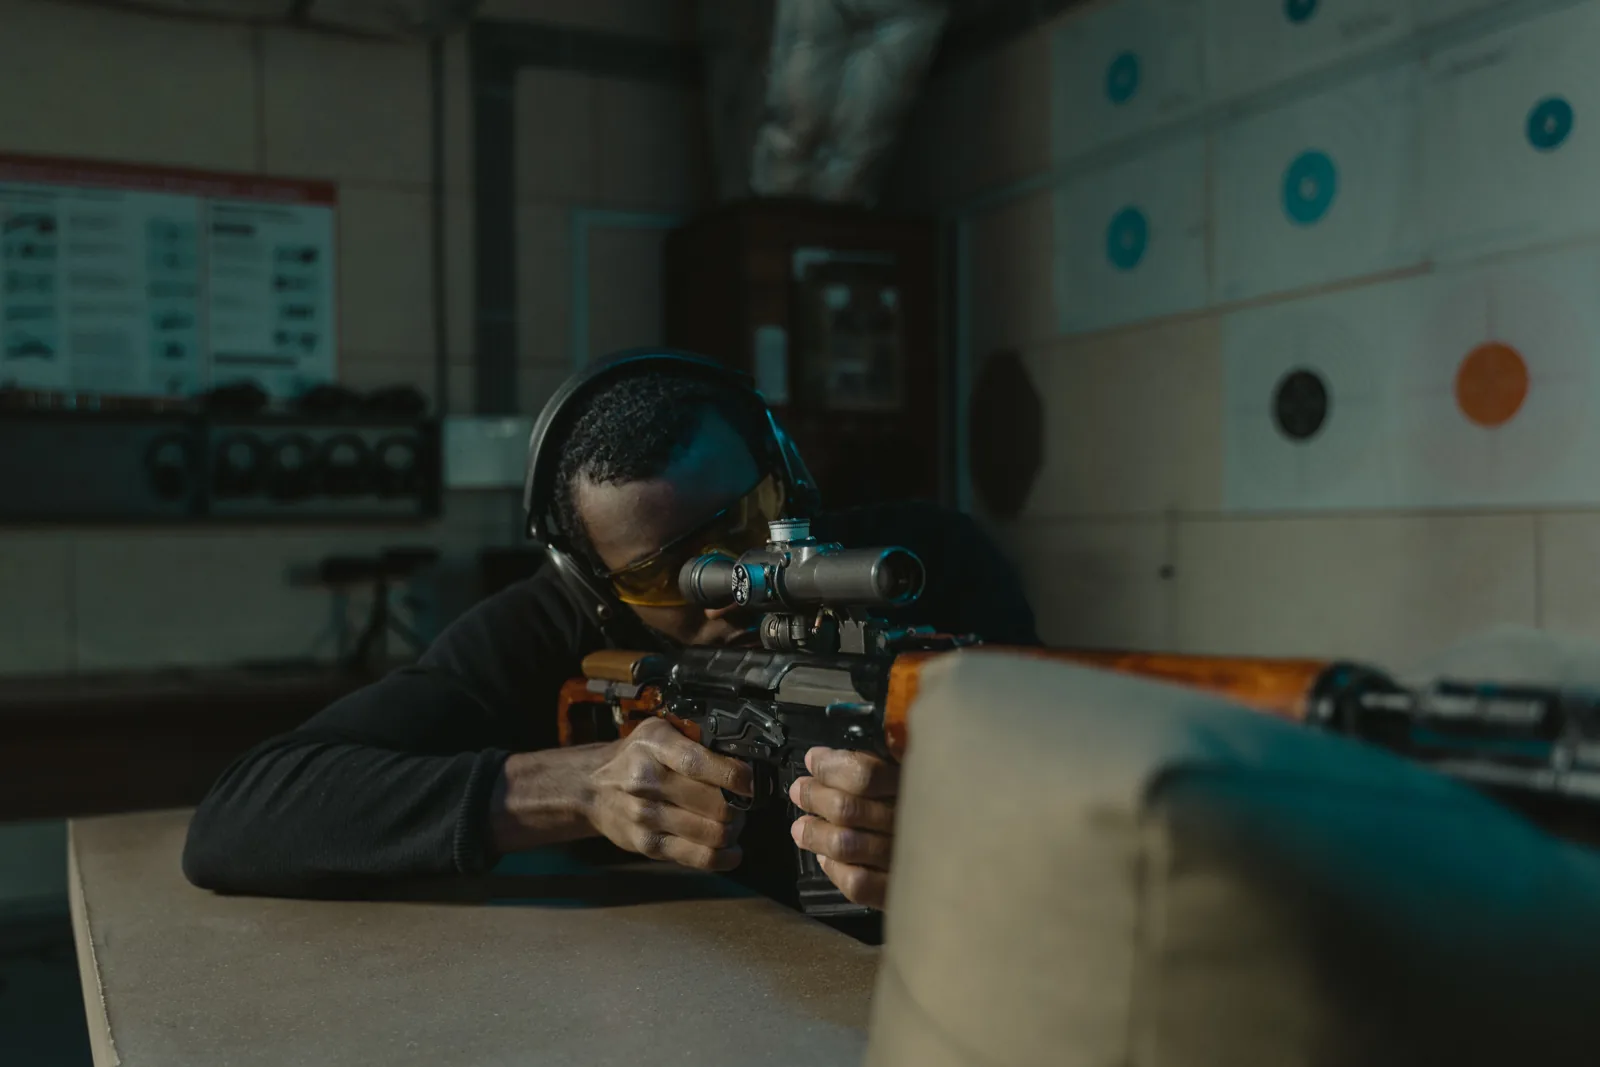
To sight in a scope, mount and level it, bore sight it so your first shots land on paper, then fire 3- to 5-shot groups from a solid rest, first at 25 yards and then at your zero distance (usually 100 yards). After each group, turn the turrets toward the direction you want the bullets to move, by the number of clicks that matches the miss at that distance. When the group sits where you aim, reset the turret dials to zero.
The steps are simple. The part that trips most people up is the arithmetic: how many clicks a given miss needs at 25, 50 or 100 yards, and which way to turn. This guide includes a click table for the three common click values and two worked examples, plus a short list of what to check when the scope won’t come to zero.
Safety first: follow your range’s rules, treat every firearm as loaded, wear eye and ear protection, use only the ammunition your rifle is chambered for, and know what is beyond your target. All bore sighting steps below are done with the rifle unloaded.
What you need before you start
- A properly mounted scope. Rings and bases tightened to the maker’s torque values, reticle level, and the scope set for correct eye relief.
- A stable rest. Leupold calls a stable platform the key to a quick sight-in: a solid bench plus sandbags or a gun vise.
- High-contrast targets. Leupold suggests a large target with a black center, such as the NRA SR-1, and bright orange or green stickers if the center is hard to see.
- A way to see your holes. Warne recommends a spotting scope in the 20-40x range for 100-yard work.
- The same ammunition you will hunt or compete with. A zero is only valid for the load you zeroed with.
Step 1: Set up the scope on the rifle
Savage lists a short pre-range check that saves wasted rounds. With the rifle unloaded and on safe:
- Shoulder the rifle (pointed in a safe direction) and look through the scope at a plain background, such as a blank wall or clear sky.
- Turn the eyepiece until the reticle is sharp.
- If the scope has an adjustable objective or side focus, set it for the distance you will shoot. The target should be crisp and the reticle should not shift when you move your head. Our parallax adjustment guide explains why this matters.
- Check for a full, round image with no dark ring at both the lowest and highest magnification. A dark edge means the scope position or comb height needs work.
Step 2: Bore sight to get on paper
Bore sighting roughly lines up the reticle with the barrel so the first live shot hits the target somewhere. Savage puts it bluntly: skip it, and a first shot at 100 yards is likely a miss in an unknown direction. Three methods work:
Look through the bore
On a bolt-action rifle, remove the bolt and look down the barrel. Leupold describes the AR version: with the bolt forward, push out the two takedown pins, separate the upper from the lower and remove the bolt carrier so you can see through the barrel. Center a target in the bore, then turn the windage and elevation turrets until the reticle sits on the same spot. The rifle usually moves a little while you adjust, so look through the bore again and repeat until both line up. Leupold notes that a bore sight is rarely perfect; its only job is getting you on paper.
Use a bore sighting device
Collimators fit in the muzzle and show a grid in the scope; laser bore sighters fit in the muzzle or chamber and project a dot onto a target about 25 yards away. You adjust the turrets until the reticle meets the grid center or the laser dot. Read the device’s manual, insert it carefully so you don’t damage the crown, and remove it before firing.
Center the turrets mechanically
If you can’t see through the bore, Savage describes a fallback: turn each turret all the way to one end, count the revolutions to the other end, then dial back half. This puts the reticle near the middle of its travel.
A warning sign from both makers: Savage says that if a collimator or laser needs more than 6-8 inches of adjustment, check the mounting before going further. Leupold adds that a large windage correction eats into the elevation travel you have left, so it’s worth re-installing the rings and bases first.
Step 3: Fire your first group at 25 yards
Savage and Birchwood Casey both recommend starting at 25 yards, and Warne suggests 25 or 50 yards for new shooters or a newly mounted scope. At close range a small error still lands on paper, so you can see which way to adjust.
- Confirm the bore is clear, including any bore sighting device.
- Aim at the center of the target and fire a 3- or 5-shot group, keeping the same hold for every shot.
- Let the barrel cool between shots. Savage and Warne both warn that a hot barrel changes results.
- Find the center of the group and measure how far it is from your aim point, horizontally and vertically, in inches.
Don’t adjust off a single shot. Warne’s rule of thumb is that one shot may only show a shooter error, not where the rifle actually hits.
Step 4: Work out the clicks
The turret caps are marked in clicks of a fixed angular size. The most common values are 1/4 MOA, 1/8 MOA and 0.1 mil (0.1 MRAD). Because they are angles, a click moves the impact less on paper the closer the target is. Warne puts it this way: a 1/4 MOA scope that needs four clicks per inch at 100 yards needs eight at 50 yards and 16 at 25 yards.
The table below shows how far one click moves the point of impact at each distance, and how many clicks move it one inch. We calculated it from 1 MOA = 1.047 inches and 1 mil = 3.6 inches at 100 yards. Many scope makers round 1 MOA to 1 inch, which gives the clean 4/8/16 figures; the exact values are shown in parentheses.
| Click value | 25 yd | 50 yd | 100 yd | 200 yd |
|---|---|---|---|---|
| 1/4 MOA: inches per click | 0.065 | 0.13 | 0.26 | 0.52 |
| 1/4 MOA: clicks per inch | 16 (15.3) | 8 (7.6) | 4 (3.8) | 2 (1.9) |
| 1/8 MOA: inches per click | 0.033 | 0.065 | 0.13 | 0.26 |
| 1/8 MOA: clicks per inch | 32 (30.6) | 16 (15.3) | 8 (7.6) | 4 (3.8) |
| 0.1 mil: inches per click | 0.09 | 0.18 | 0.36 | 0.72 |
| 0.1 mil: clicks per inch | 11.1 | 5.6 | 2.8 | 1.4 |
The general formula is: clicks = miss in inches / inches per click at that distance. Round to the nearest whole click. If you’re not sure which click value your scope uses, the cap is often marked; our guide to what the numbers on a scope mean covers MOA and mil turrets in more detail.
Worked example 1: 1/4 MOA scope at 25 yards
Your group is 1.5 inches left and 0.75 inches low. At 25 yards a 1/4 MOA scope needs about 16 clicks per inch (rounded), so you dial about 24 clicks right and 12 clicks up. Using the exact value (15.3 clicks per inch) gives 23 and 11.5, so either answer gets you close enough for the next group to tell you the rest.
Worked example 2: 0.1 mil scope at 100 yards
Your group is 2 inches high and 1 inch right. At 100 yards one click is 0.36 inches, so 2 / 0.36 = 5.6, or 6 clicks down, and 1 / 0.36 = 2.8, or 3 clicks left.
Step 5: Turn the turrets the right way
This is where most confusion happens. Warne and Leupold both explain that the arrows on the caps (“UP”, “R” or “L”) show the direction the point of impact moves, not the reticle. So you turn toward where you want the bullets to go:
- Group is low: turn the elevation turret in the “UP” direction.
- Group is right: turn the windage turret in the “L” direction.
Leupold’s own example: a 1-inch miss to the right at 100 yards with 1/4 MOA clicks means four clicks in the direction the “L” arrow points. Savage phrases the same rule from the other side: adjust opposite to where the bullets landed. Inside the scope, the reticle actually moves the other way, which is why thinking in terms of “move the bullets” is easier.
Fire another group after each adjustment. Leupold advises shooting several rounds each time to confirm the group moved the way you expected.
Step 6: Confirm at your zero distance
A group centered at 25 yards is not a 100-yard zero. Warne points out that a 1-inch error at 25 yards grows to about 4 inches at 100 yards, and the bullet’s path rises and falls differently for every cartridge and scope height. So once you’re centered close in, move the target to your zero distance, fire another 3- to 5-shot group and fine-tune with the 100-yard column of the table.
Which zero distance to pick:
- 100 yards is the default for centerfire rifles. Warne notes that most ranges are 100 yards, and ammunition makers’ drop charts are usually based on a 100-yard zero.
- 50 yards is the other common choice Leupold recommends, and it’s useful when you only have short-range access.
- .22 rimfire: Warne suggests 50 or 75 yards rather than 100.
- 200 or 300 yards: Leupold recommends doing the initial sight-in at a shorter distance first, then adjusting for the longer zero once you’re on paper.
Keep in mind that published drop charts come from the ammunition maker’s test rifle, not yours, so Warne advises confirming them by shooting.
Step 7: Reset the turret dials to zero
After all that dialing, the turret numbers no longer read “0”. Leupold explains that most scopes either have set screws you loosen, or dials that pull up. Slip the dial back to “0” without turning the adjustment underneath, then tighten the screws or push the dial down. Check your scope’s manual, because the method varies by model. With the dials at zero, you can always return to your zero after dialing for a longer shot.
When the scope won’t zero: a quick troubleshooting table
| Symptom | Likely cause | What to check |
|---|---|---|
| No hits on paper at all | Skipped or rough bore sight | Bore sight again; Leupold suggests putting up several targets to widen the impact area until you see one hole |
| Group moves the wrong way after adjusting | Turret turned toward the miss instead of away from it | Re-read the arrows: they show impact direction (Warne, Leupold) |
| Needs a very large windage or elevation correction | Rings or bases misaligned | Re-install rings and bases (Leupold); more than 6-8 in at bore sight is a mounting red flag (Savage) |
| Shots scatter instead of grouping | Unstable rest, heated barrel, or shooter error | Firmer rest, let the barrel cool, and judge groups rather than single shots (Warne, Savage) |
| Point of impact shifts when you move your head | Parallax not set for the distance | Set side focus/AO for the target distance (Savage) |
FAQ
How many shots does it take to sight in a scope?
There’s no fixed number. The process is groups of 3 to 5 shots, an adjustment, then another group, repeated at 25 yards and again at your zero distance. A good bore sight cuts the number of groups you need.
How many clicks is 1 inch at 100 yards?
About 4 clicks with a 1/4 MOA scope, 8 with a 1/8 MOA scope, and about 2.8 with a 0.1 mil scope. At 25 yards, multiply those by four.
Should I sight in at 25 or 100 yards?
Both. Start at 25 yards to get the group roughly centered, then confirm and fine-tune at 100 yards (or your chosen zero distance). A 25-yard group alone doesn’t tell you where the rifle hits at 100 yards.
Which way do I turn the scope if I’m shooting low?
Turn the elevation turret in the direction of the “UP” arrow. The arrows show which way the bullet impact moves.
Is bore sighting enough to go hunting?
No. Leupold says a bore sight is only meant to get you on target. You still need to fire groups and adjust before the rifle is zeroed.
Sources
All checked October 26, 2026. The click table and worked examples are our calculations from the MOA and mil values below.
- Leupold, “How To Sight In a Scope”: leupold.com/blog/post/how-to-sight-in-a-scope (stable platform, SR-1 target, bore sighting bolt guns and ARs, turret direction example, resetting dials, troubleshooting tips, 50 or 100 yd zero)
- Savage Arms, “How to Sight in a Rifle for Accurate Shooting”: savagearms.com/blog/post/how-to-sight-in-a-rifle (pre-range scope checks, 25 yd start, 3- or 5-round groups, safety rules, adjusting opposite the impact)
- Savage Arms, “Boresighting a Rifle – 3 Easy Methods”: savagearms.com/blog/post/boresighting-your-rifle (collimator, laser, mechanical center, 6-8 inch warning)
- Warne Scope Mounts, “How to Zero Your Rifle Scope”: warnescopemounts.com/blog/how-to-zero-your-rifle-scope/ (turret markings show impact direction, 4/8/16 clicks per inch, 1 in at 25 yd = 4 in at 100 yd, rimfire zero, spotting scope, one-shot rule)
- Birchwood Casey, “Tips for Efficiently Sighting in a Rifle”: birchwoodcasey.com/blog/tips-for-efficiently-sighting-in-a-rifle/ (25 yd starting distance)
- Steiner, Riflescope Glossary: steiner-optics.com/resources/glossary/riflescope-glossary (1 MOA = 1.047 in and 1 mil = 3.6 in at 100 yd)